Friday, September 28, 2012

Madd Tutorial 20

A few weeks ago, Mo the ever awesome owner of Madd Style Cosmetics launched
a  DR WHO inspired line of matte eye shadows.
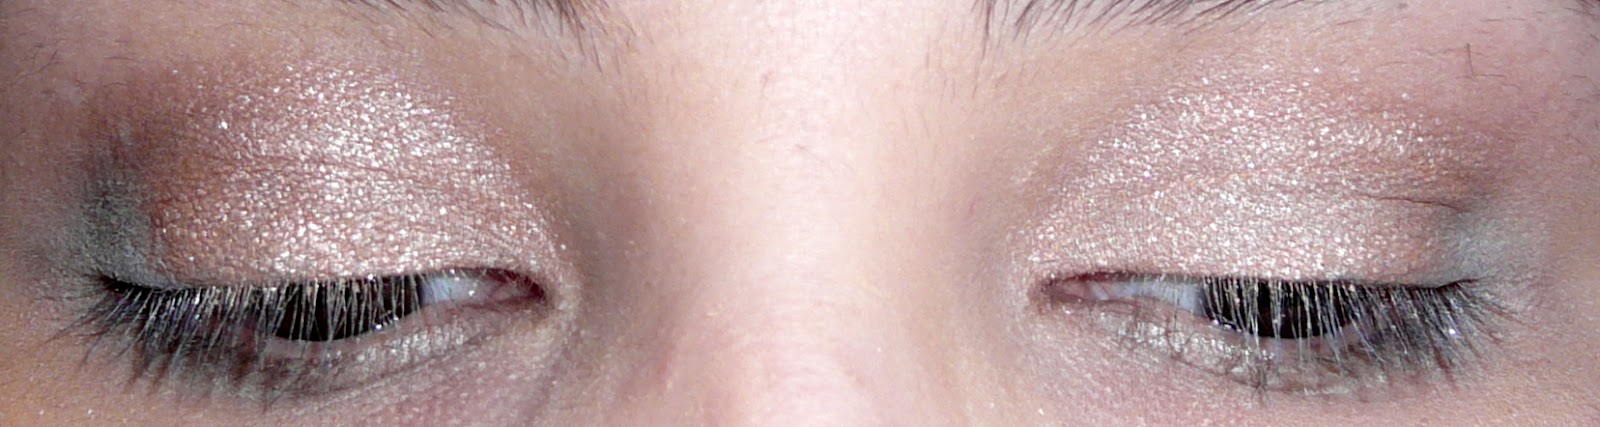
I received a few these colors the other day and decided to use Bad Wolf in this look...it is such a beautiful dark blue grey.

Mo also revamped her logo! Isn't it cute?!


First of let's prepare the eye lid with a base and some Awesome Sauce

Eye lid prepared for shadows!

Now while this dries a little grab your brushes

First color up is 
Touch of Grey
Touch of Grey is going to be applied by patting it onto the inner lid and slightly above the crease, blended out to the middle of the lid and then along the  inner lower lash line

Now for some Bad Wolf
Bad Wolf is going to be patted from the middle of the lid to the inner edge of the outer lid, slightly above the crease.
Use you blending brush to blend Touch of Grey into Bad Wolf.

Lastly the lovely Cruisin' for a Bruisin'
Gently pat Cruisin' for a Bruisin' on the outer lid and slightly above the crease. 
Blend Bad Wolf into Cruisin' for a Bruisin' until a smooth transition is made. 

Add your liner and mascara for the final look results


Hope you enjoyed this look!

Friday, September 21, 2012

Madd Tutorial 19

Since tomorrow is officially the first day of Fall I figured that I would welcome my favorite season in properly with this Fall inspired tutorial.

Gather your supplies and tools
Supplies:
NYX eyeshadow base in white, MSC's Awesome Sauce, W'n'W icon liner in black, ELF liquid liner in black, Rimmel lash accelerator mascara in black. 
Tools:
ELF smudge stick, Warpaint pencil brush, ELF blending brush, Sephora double ended eyeliner and crease brush.

Colors:
Atomic Dreamland - Orc - Horror Galore


After you apply your base & awesome sauce grab your pencil brush, and dip it into Atomic Dreamland. Gently pat Atomic Dreamland on the inner lid. Using the eyeliner end of the Sephora brush apply Atomic Dreamland along the inner lower lash line.


Now wipe off your pencil brush and dip it into Orc, pat Orc on the middle of lid and bring it slightly about the crease. Grab your blending brush and blend Atomic Dreamland into Orc


Again, wipe off that pencil brush and dip into Horror Galore and pat on the outer lid into the outer crease and slightly above the crease to line up with Orc. Take the crease side of the Sephora brush and blend Horror Galore into the outer crease.  Then with the liner side of the same brush apply Horror Galore along the outer lower lash line and blend with Atomic Dreamland. Now take the blending brush and blend Orc into Horror Galore. You're going to have to play with the amount of Horror Galore applied because it's such a crazy color that it never looks like there is enough, you may even want to apply that portion over a black base.


Finished look!


Wednesday, September 12, 2012

Madd Tutorial 18

Fellow Madd Model Jalackie did this gorgeous color combo the other day that I just had to steal! 
Of course, I added a color and my own touch to make it my own =)

Prepare your eyes!

Grab your tools!

Colors needed!

Mune Glow
Breaking the lid into three areas, swipe Mune Glow on the first portion of the lid and along the lower lash line.

Lotus Bloom
Place Lotus Bloom on the center portion on the lid. Over lap Mune Glow with Lotus Bloom and blend Mune Glow into Lotus Bloom.

Misfits & Moonbeams
Add Misfits & Moonbeams to the last potion of the eyelid bringing it slightly into the crease and blend out. Blend Lotus Bloom into Misfits & Moonbeam. 

Vortex
Line your water line and lower lash line with black liner then with an angled brush PAT Vortex along the lower lash line.

Apply the finishing touches and done!

Minimal flash

Flash

Sunday, September 2, 2012

Madd Tutorial 17

Today I present to you my neutral/pin up eye!

(Lips are OCC Lip Tar in NSFW)


Start off with some base and Awesome Sauce

While letting the Awesome Sauce dry a little I grabbed my brushes
Angled and Blending

For this look you will need:


First take Dirty Chai and apply it to 3/4 of the lid area and half of the bottom lash line


Second apply FRESH POTS! to the outer area that was left, and along 3/4 of the crease. 
Blend FRESH POTS! over Dirty Chai
Also, apply along the outer portion of the bottom lash line.
(I took the picture like this to show how I get the shape and then fill it in with more color)


Third swipe Iced Mocha over Dirty Chai, making sure it's well blended.


Add some winged liner and mascara to complete!


Tuesday, August 28, 2012

Madd Tutorial 16

I am completely ready for it to be Fall already and am super excited for Halloween!!!
So, in anticipation for my favorite time of year I did this gorgeous orange and black look.

Tools and other goodies needed for this look:
NYX eyeshadow base in white - MSC awesome sauce - ELF liquid liner in black 
NYX JEP in black bean - Rimmel lash accelerator in black

Warpaint pencil brush
ELF blending brush


Color 1


Gently Pat Ichabod from the duct area to just slightly past the middle of the eyelid. 
Sweep half way along the lower lash line.

Color 2

Place Tiger's Blood over the end area of Ichabod and almost to the edge of the lid, leave just a slight space at the end. 
Using a blending brush bleeeeeeeeeeeend blend blend Ichabod over Tiger's Blood and then add a little more Tiger's Blood over where Ichabod is blending and then blend a little more.
Also, place a touch of Tiger's Blood on the center of the lower lash line.

Colors 3 & 4


First you're going to apply Plan 9 on the outer edge and slightly over Tiger's Blood, along the outer lower lash line and then up into the crease. Blend Plan 9 and Tiger's Blood together.
Now take Cloud 9 and apply it over Plan 9 and to blend out the crease area near the duct.
Apply Plan 9 over Cloud 9 being sure to blend them together.
Take your blending brush and lightly go over the colors to blend them evenly over the lid and lower lash line.

Apply liner and mascara to complete this gorgeous look!!

Thank you for taking your time to check out this tutorial!
If you haven't already subscribed please do so =)